



How to Design a Custom Model Railroad Industrial Scene
A well‑designed industrial scene is the heartbeat of a model railroad. It’s where your locomotives earn their keep – sorting boxcars, loading raw materials, and switching cars between spurs. Done right, an industrial scene becomes a miniature world of purpose and realism. This guide walks you through the complete process, from choosing a concept and designing a switching track plan to building structures and weathering every surface.
1. Choose Your Industrial Concept
Every successful industrial scene begins with a clear purpose. Decide what your industry produces or receives.
Common options include:
- Team track – A general‑purpose loading dock that accepts almost any car type (boxcar, flatcar, covered hopper, tank car, gondola). Versatile and easy to fit into any era.
- Freight house – For less‑than‑carload (LCL) shipments. Especially fitting for a vintage model railroad scene creation set in the 1940s–1950s.
- Lumber yard – Receives boxcars of finished lumber and flatcars of timber. A credible choice that generates a variety of carloads.
- Grain elevator – A classic industry that takes covered hoppers. Offers clear “in and out” switching patterns.
- Oil dealer – Served by tank cars, often with a small pumping station.
- Aggregate plant – Uses covered hoppers or open hoppers for sand, gravel or cement.
When you model a real industry, you also model a real operational logic: loaded cars arrive, empties depart.
Gary Hoover, for example, models the Norfolk & Western in the late 1950s with scenes that combine active coal mines, a company town, a water tank and detailed storefronts. His work shows how a clear industrial theme creates a consistent, believable world.
Start small. A single team track and one industry can provide satisfying operations. Build outward as your skills grow.
2. Custom Model Railroad Scale Selection
The scale of your layout has a profound effect on what you can build and how much detail you can include.
Custom model railroad scale selection is the first critical decision.
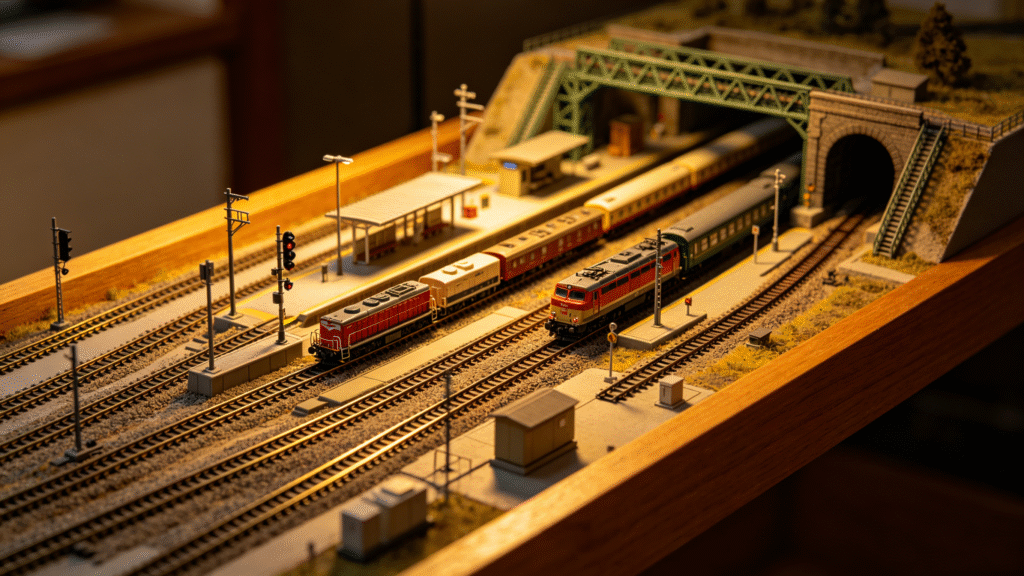
- HO scale (1:87) – The most popular scale for switching layouts. HO offers a good balance between detail and manageability. An HO switching layout can fit into 2′ × 6′ (12 sq ft) and still include a runaround, several spurs, and multiple industries.
- N scale (1:160) – A custom N scale model railroad layout can pack impressive switching action into a very small footprint. A compact N layout of 3′ × 5½′ can include a four‑track yard, a runaround, a loop for continuous running, and several industries. Because N scale is 60 % smaller than HO, it is ideal for apartments or limited spaces.
- O scale (1:48) – Larger and more detailed, but requires significantly more space. Best for a single‑industry switching layout or a short shelf.
Also consider your era. For a vintage model railroad scene creation you might choose 40′ boxcars (the standard before the 1960s), older truck styles (Chevys, Plymouths, Mercurys), and steam‑era details like water columns and coaling towers.
3. Track Planning for Switching Operations
An industrial scene is defined by its track plan. Unlike a continuous‑run loop, a switching layout focuses on sorting cars and spotting them at industries.
Essential track elements
- Runaround track – Allows your locomotive to move from the front of a cut of cars to the back. Crucial for placing cars on spurs.
- Switching lead – A track long enough for the locomotive to pull cars clear of turnouts before pushing them into spurs. Without a lead, switching blocks the main line.
- Spurs – Tracks that serve individual industries. One spur might hold one or two cars; another spur could hold four or five.
- Team track – A general‑purpose spur that can spot any car. Adds operational variety without requiring a custom‑built industry.
Classic small switching plans
- Timesaver – Designed by John Allen. Uses a switchback track with multiple sidings that challenge the operator to sort cars in the fewest moves possible.
- Inglenook Sidings – Three sidings of different lengths branching from a main line. Offers countless switching puzzles in a very small footprint.
- Switchback Canyon – Uses vertical space; a switchback climbs a grade, adding elevation to small switching layouts.
Practical example: CSX Ridgecrest (HO)
Paul Newtson built an HO scale CSX switching layout in just 12 square feet (2′ × 6′). He included:
- A double‑track main line with a powered crossover.
- A runaround track long enough for a 60‑foot car.
- A lumber and building‑supply company (kitbashed from an Atlas lumberyard kit).
- A small brick warehouse receiving boxcars.
- A narrow car shop with one end open to accept railcars.
Despite its small size, the layout is part of a 70‑foot club layout and offers realistic switching operations for a Class I railroad.
Practical example: Spartanburg Subdivision (N)
Steven Otte designed an N scale layout (3′ × 5½′) that fits under a bed. It includes:
- A four‑track yard with a long lead.
- A loop for continuous running.
- A tunnel that conceals part of the main line and staging tracks.
- Industries: a cotton mill, a peach packinghouse, a logging spur and a cotton farm.
This design shows how a custom N scale model railroad layout can be both compact and operationally rich.
4. Structures – Kitbashing and Scratchbuilding
Use structures to anchor your scene and suggest the industry your track is serving.
Kitbashing – Combine parts from multiple kits to create something unique. For example, Paul Newtson kitbashed a lumber company from an Atlas lumberyard kit and extended a car shop from two Walthers truck terminal kits. Another warehouse used the main building from a coal company kit with a roll‑up door added.
Scratchbuilding – Build from raw materials such as styrene sheet, stripwood or card. For a structure with a removable roof, first construct trusses and cover them with boards, then add shingles or a sheet of balsa/plastic. If the model has docks or porches, add exterior details and a few figures.
Styrene – Build structures from styrene sheet. Step‑by‑step instructions guide you from initial measurements to the final paint job.
For a vintage model railroad scene creation, choose buildings from the appropriate decade. The freight house, depot, storefronts and even the water tank should reflect the era. Gary Hoover’s layout shows how a water tank can be built from a Walthers kit (the main tank and roof) while the sheds around it are entirely scratchbuilt.
5. Add a Custom Model Railway Tunnel
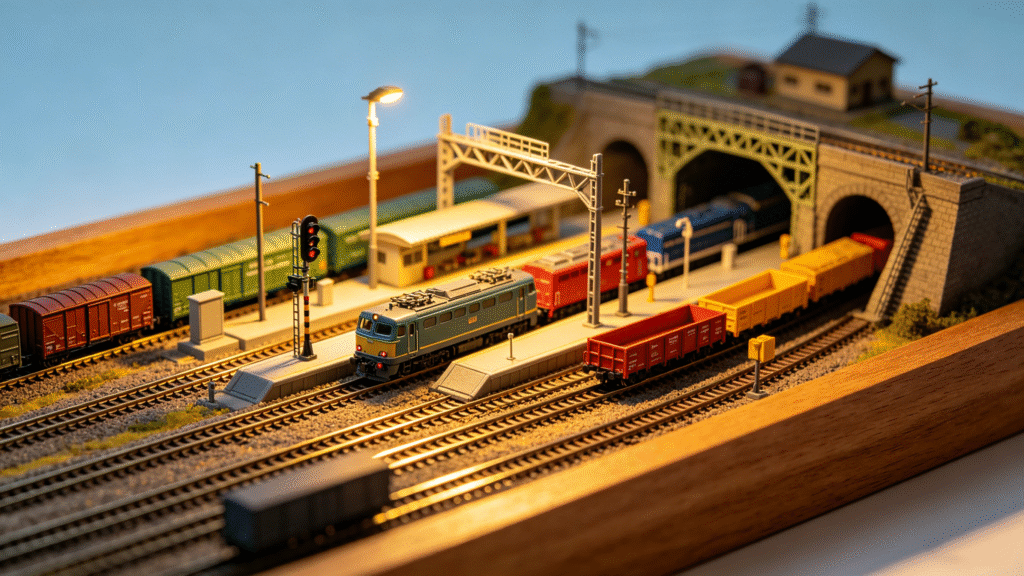
A tunnel makes your scene feel larger by hiding the exit of a track and creating a sense of depth. It also suggests that the railroad continues beyond what the viewer can see.
A custom model railway tunnel can be built in several ways.
- Timber portals – Scratchbuilt from stripwood or even wooden coffee stirrers. Stain the wood with a grey India‑ink wash (two teaspoons of India ink to one pint of isopropyl alcohol) to achieve an aged, weathered look. Add bolt details with a 2B pencil and smear soot around the opening.
- Concrete portals – Cut from sheet material. Paint with off‑white and grey layers, then add a thin black wash to highlight mortar lines. Some modelers carve concrete portals from foam and cover them with drywall mud.
- Stone portals – Cast in plaster from rubber moulds, then painted with dry‑brushed grey, brown and green shades.
One modeler created a thin latex mold from a commercial portal, then cast lightweight copies that fit into a tight space. The copies were sprayed with a speckled tan paint and highlighted with India ink washes. Wooden coffee stirrers glued to a thin cardboard backing can also produce convincing portals.
To integrate a tunnel with an industrial scene, place the tunnel at the end of a spur, suggesting the track disappears into a mine or a storage cavern.
6. Custom Model Train Track Scenery
Your track needs realistic ground cover and ballasting. Custom model train track scenery blends the track into the surrounding landscape.
Ballasting
Use fine grey or dark grey ballast for industrial spurs – a lighter shade draws attention away from the main line.
- Sprinkle ballast between and alongside the rails with a fine‑mesh strainer or spoon.
- Brush it into place with a soft paintbrush, keeping the tops of the ties visible.
- Wet the ballast lightly with water mixed with a few drops of dish soap to break surface tension.
- Apply diluted white glue (50 % glue, 50 % water) with an eyedropper. The glue wicks into the ballast.
- Let dry for 24 hours, then vacuum loose ballast.
On a custom N scale model railroad layout, ballasting N scale track requires finer ballast and more delicate handling, but the same principles apply. Use Woodland Scenics “fine” ballast.
Ground cover
- Paint the scenery base with earth‑toned acrylics.
- Apply ground foam in several layers (green, brown, yellow), fixing each layer with scenic cement.
- Use a static grass applicator for standing grass fibres – 2‑4 mm for lawns, 6‑10 mm for meadows.
- For roads and parking lots, cut sheet styrene or smooth plaster, then paint asphalt grey and add chalk lines.
For an industrial scene, avoid pristine landscaping. Add patches of bare dirt, gravel piles, weeds growing through the ballast, and oil stains near the loading docks.
7. Weathering – The Secret to Realism
Nothing in an industrial area looks new. Weathering is essential.
Weathering wood structures – Use a grey India‑ink wash (two teaspoons India ink to one pint isopropyl alcohol) brushed with the wood grain. Apply the wash heavily, then use it all before reloading the brush. For more colour variation, use sepia ink for a warm‑tone stain. Stained wood should be allowed to dry for 48 hours, laid flat under weight to prevent warping.
To simulate an abandoned depot, leave some shingles off to expose the bare subroof, and paint individual shingles to look like patchwork repairs.
Weathering the entire scene – Paul Newtson weathers everything on his layout using powdered pastels, an airbrush with Floquil paints, and a spray can of Testor’s Dullcote for a final matte finish. Use a thin black wash on tunnel portals, dry‑brush white and light grey to bring out stone textures, and add black soot around the opening.
Industrial roofing – Simulate a tar‑and‑gravel roof by painting the roof glossy black and applying cinder ballast before the paint dries.
Industrial details – Add scrap piles, pallets, drums, spilled cargo (coal, grain, wood chips), broken glass and faded lettering. These small touches turn an ordinary structure into a standout model.
8. Pulling It All Together – A Complete Example
Imagine a custom N scale model railroad layout measuring 8′ × 2′.
- Scale: N (1:160).
- Era: 1950s (a vintage model railroad scene creation).
- Track plan: A runaround track 3′ long, a switching lead at one end, and four spurs: a grain elevator (two cars), a team track (any car), a small warehouse (one boxcar), and a coal dealer (one hopper).
- Structures: Grain elevator (kitbashed with a scratchbuilt loading leg), team track shelter (scratchbuilt from stripwood), small warehouse (kit with added roof details), coal dealer (kit with scratchbuilt bin).
- Custom model railway tunnel: A stone tunnel portal hides the main line as it exits the scene behind a low ridge. The portal is cast in plaster from a rubber mould, painted with dry‑brushed grey, and given a black wash for soot stains.
- Custom model train track scenery: Dark grey ballast weathered with brown washes. Static grass (4 mm) on the banks, patches of bare ground near the loading areas, and a gravel road leading to the team track.
- Vehicles: 1950s trucks (a Ford delivery van, a Chevy pickup) near the loading docks; period‑appropriate cars (Chevys, Plymouths, Mercurys).
- Figures: Workers painted in era‑appropriate clothes (suspenders, work boots, fedoras).
- Weathering: All structures have stained wood, rust streaks and faded signs. The coal dealer has black powder around the bin; the grain elevator has dust on the loading chutes.
The completed industrial scene offers realistic switching operations, tells a clear story, and immerses the viewer in a specific time and place.
9. Operation – Working Your Industrial Scene
A beautiful scene that is never operated is a missed opportunity.
Car spotting guides – Provide simple instructions: “Spot two boxcars at the team track, one covered hopper at the grain elevator, and pull the empty from the warehouse.”
Car cards and waybills – A car card and waybill system adds randomness and purpose. A boxcar might be empty today but loaded tomorrow, requiring a different placement.
Switching puzzles – The Timesaver or Inglenook sidings make excellent stand‑alone switching areas. A 3′6″ × 6″ board can hold an Inglenook puzzle that fits comfortably in a car boot, providing hours of operational challenge.
DCC and computer control – For advanced layouts, DCC allows multiple locomotives to operate independently. Computer control can automate certain movements while you focus on the switching puzzle.
10. Long‑Term Maintenance and Upgrades
A custom industrial scene is an evolving project.
- Dust regularly with a soft brush or compressed air to prevent dirt build‑up on weathered surfaces.
- Inspect track periodically for dirt or loose ballast that could affect operations.
- Upgrade details over time – add new vehicles, new figures, or new industries as your skills improve.
- Build a staging track – In the N scale Spartanburg Subdivision example, the interchange track is a natural spot to attach off‑layout staging, perhaps using removable track cassettes. This increases the variety of traffic on your layout without expanding the permanent footprint.
Conclusion
Custom model railroad industrial scene design is a blend of planning, construction and artistry. Start with a concept and an era. Choose a scale – HO or N – that fits your space. Design a switching track plan with a runaround and spurs. Build structures by kitbashing or scratchbuilding, add a tunnel portal for depth, apply realistic scenery and ballasting, then weather every surface.
A well‑designed industrial scene gives your locomotives purpose, your operators challenge, and your viewers a convincing miniature world to explore.
Happy modelling.


Leave a Reply