



Introduction
Few structures capture the eye on a model railroad layout like a well‑built bridge. Whether your trains cross a small stream or a deep canyon, a bridge is a natural focal point — and often the centrepiece of an entire scene.
Bridges also present a unique challenge: you rarely find a ready‑to‑run kit that fits your exact track alignment, span length, or era. That is why custom model railroad bridge building is one of the most rewarding skills a model railroader can develop.
This guide takes you through everything you need to know: from choosing the right scale and materials to scratchbuilding a solid structure, adding realistic weathering, and integrating the bridge into a vintage model railroad scene creation that transports your layout back in time. We will also look at how bridges connect naturally with custom model railway tunnel portals and how to apply these techniques on a custom N scale model railroad layout where every millimetre counts.
Let us begin.
Section 1: Choosing Your Model Railroad Scale
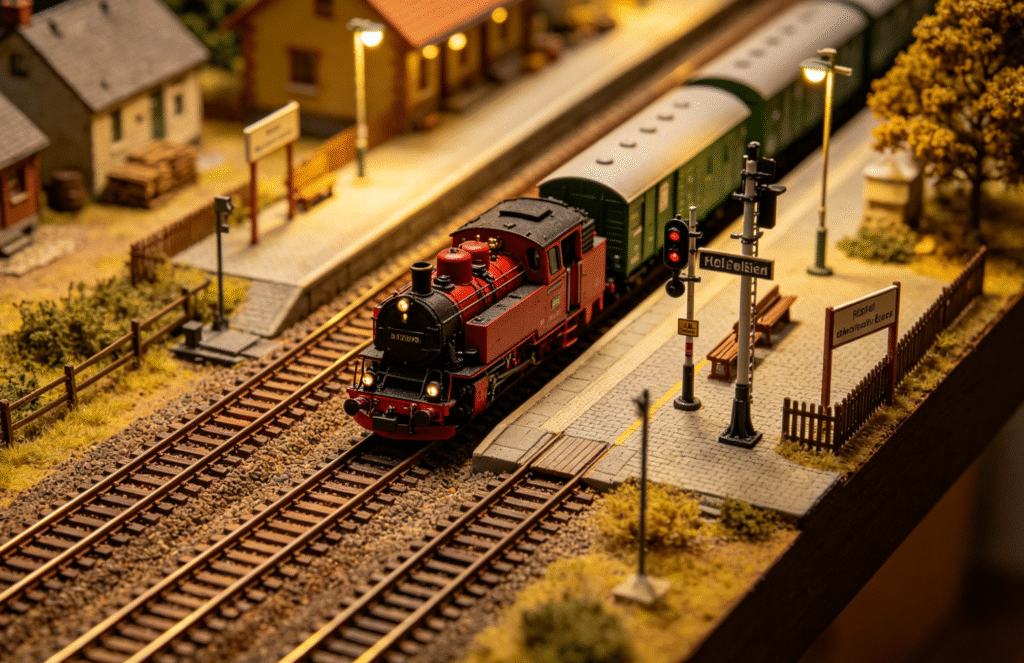
Before you cut any material, you must decide on the scale of your bridge. The scale determines how much detail you can include, what materials are most appropriate, and how the bridge will fit into the surrounding scenery.
The Importance of Scale Selection
Custom model railroad scale selection is the foundation of any realistic structure. A bridge that is correctly scaled to your trains and the surrounding landscape will look natural; one that is slightly off will break the illusion immediately.
The four most common scales for model railroad bridges are:
- HO scale (1:87.1) – The most popular scale, offering a good balance between detail and manageability. HO bridges are relatively easy to build by hand or with commercial kits.
- N scale (1:160) – A smaller scale that allows you to model longer scenes and tighter curves on a custom N scale model railroad layout. N scale bridges require finer work and often benefit from 3D‑printed components, but they can be incredibly rewarding.
- O scale (1:48) – Large and highly detailed. O scale bridges are often built from metal or wood kits and can serve as dramatic centrepieces on a layout.
- S scale (1:64) – A less common but growing scale, sitting between HO and O in size.
Whatever scale you choose, ensure that your bridge design is faithful to that proportion. A bridge that is too large for the landscape will look like a toy, while one that is too small will lack presence.
Sourcing Scale Drawings
For a truly authentic custom bridge, begin with prototype photos and scale drawings. Several books are dedicated to model railroad bridges and trestles, including titles from Model Railroadermagazine. These books offer construction plans, prototype photos, and over 20 sets of scale drawings for scratchbuilding, kitbashing, or modifying commercial bridge kits.
You can also adapt drawings from freely available online sources or measure a real bridge near you.
Section 2: Bridge Materials and Tools
The material you choose will affect the strength, appearance, and ease of construction of your custom bridge.
Plastic Sheet (Styrene or ABS)
Thin plastic sheet, often sold as “Plastikard” or styrene, is the most versatile material for scratchbuilt bridges. It is easy to cut, comes in a variety of thicknesses, and can be printed with surface finishes such as brick, stone, or rivet detail. When Slater’s introduced Plastikard in the 1950s, it revolutionised the hobby, providing a cheap and flexible material for constructing all sorts of models.
Use plastic sheet for:
- Girder webs, cross‑bracing, and decorative trusses.
- Bridge abutments and retaining walls.
- Adding rivet detail strips. (A strip of 0.5 mm plastic with rivets can be solvent‑welded along the edges of a girder.)
Wood
Wooden stripwood (basswood, balsa) is traditional and still excellent for trestles, timber bridges, and deck structures. It takes stain and paint well and is easy to cut with a hobby knife.
Use wood for:
- Pile trestles and timber bents.
- Bridge decking and walkways.
- Contextual scenery such as wooden abutments.
Metal
For heavy‑duty structures or very long spans, metal components — such as brass or aluminium — provide superior strength. Metal kits or scratchbuilt sections can be soldered together.
Use metal for:
- Tall steel viaducts.
- Scratchbuilt truss bridges requiring high rigidity.
- Fine railings and detail parts.
3D‑Printed Components
3D printing is increasingly popular for custom model railroad bridge building. You can design unique truss patterns, decorative arches, or intricate masonry details and print them at home or via a service. Many free designs are available online for scales such as HO and N.
Section 3: Building the Bridge – Methods and Techniques
There are two broad paths to a custom model railroad bridge: scratchbuilding from raw materials or kitbashing commercial kits to create something unique.
Scratchbuilding a Simple Beam Bridge
A beam bridge is an excellent first scratchbuilding project. It consists of a deck (carrying the track) supported by girders on either side.
Step 1 – Build a solid sub‑base.
Cut a trackbed from plywood or thick plastic sheet. This base must be strong enough to support the weight of your trains without sagging over time. The larger the train, the stronger the wood that will be needed.
Step 2 – Cut and assemble the girders.
From your chosen material (plastic sheet, wood, or metal), cut two long girders to the required span. Add cross‑bracing along the bottom if you are modelling an open truss. For a riveted look, add a strip of rivet detail to the outer faces of each girder.
Step 3 – Add the deck.
Attach the trackbed between the two girders. On many model bridges, the track is carried on ties placed directly on the deck; on a through girder bridge, the track sits below the girders.
Step 4 – Create abutments and wing walls.
These support the ends of the bridge and transition from the bridge to the earth embankment. Cardboard strip or foamed plastic can be shaped to form the abutments, then covered with plaster or plastic sheet textured to look like stone or concrete.
Kitbashing – Making a Unique Bridge from Standard Kits
When a kit is nearly right but not perfect, kitbashing allows you to adapt it to your exact needs. In one real‑life example, a modeller used three different bridge kits from a major manufacturer, combining parts to create a custom double‑track crossing where two lines converged at a turnout over a river.
Tips for successful kitbashing:
- Study the prototype and identify which elements of existing kits are close enough to use.
- Be prepared to cut, file, and splice parts together.
- Use solvent‑based plastic cement to join parts seamlessly.
- After assembly, hide joins with paint, weathering, or added detail parts.
Adding Rivets and Surface Detail
Bridges are covered in rivets, bolt heads, and other small details. For plastic models, you can buy pre‑made rivet strips or create your own by pressing a rivet tool into soft styrene. On a larger‑scale bridge, consider adding nut‑and‑washer castings to the most visible joints.
Section 4: Integrating the Bridge into Your Layout
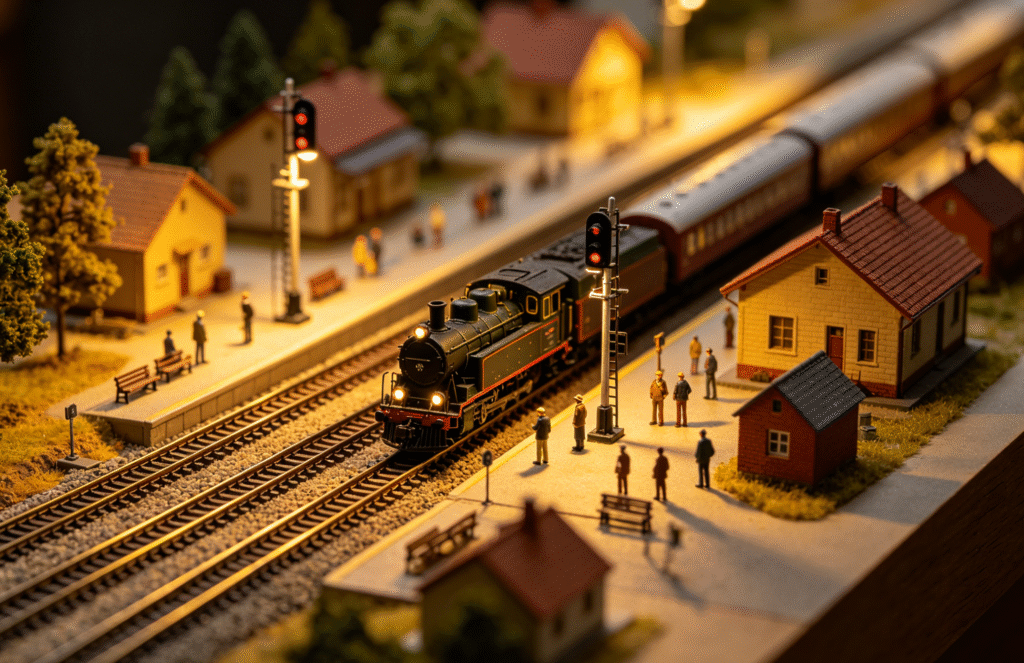
A bridge does not exist in isolation. To make it look truly at home, you must integrate it seamlessly with the surrounding terrain and with other layout features.
Connecting Bridges to Tunnels
Many real‑world railways pass immediately from a tunnel portal onto a bridge. This dramatic transition can be modelled effectively by:
- Building your custom model railway tunnel portal using similar materials and colours as your bridge abutments.
- Constructing the tunnel mouth from plaster casts or carved foam, then blending it into the bridge abutment with ground cover.
- Ensuring the alignment of the track is perfectly level across both structures — no sudden dips or humps at the joint.
For a truly cohesive scene, the same weathering techniques used on the bridge should be applied to the tunnel portal and adjacent retaining walls.
Building the Terrain Around the Bridge
To make the bridge feel anchored in place, you need to model the landscape it crosses. Here are four proven scenery methods:
- Wire screen and plaster – Staple wire screen to your benchwork, shape it, and cover with plaster cloth. This produces very realistic, rolling terrain.
- Cardboard strip method – Glue cardboard strips in a lattice, then cover with plaster‑soaked paper towels or plaster cloth. Quick and economical for large areas.
- Stacked foamboard – Glue layers of extruded foam (e.g., blue or pink insulating foam) and carve to shape. This is excellent for steep hillsides leading down to a bridge.
- Tape and stuffing – Use crumpled newspaper taped into shape, then covered with plaster‑impregnated cloth. Lightweight and very fast.
For slopes leading down to a river or cutting, painted latex works well as an inexpensive base colour. Medium‑tan flat latex paint, thinned about 50‑50 with water, can be brushed onto plaster to give an earth tone before adding ground foam and grass.
Adding Water and Vegetation
If your bridge crosses water, do not simply paint the area blue. Build up the riverbed with brown and green washes, then add a layer of clear gloss medium or epoxy resin to simulate water depth. Along the banks, apply static grass, clump foliage, and bushes to blend the bridge abutments into the landscape.
Section 5: Creating a Vintage Model Railroad Scene
A well‑crafted bridge is a powerful storytelling element. It can help you create a vintage model railroad scene creation that evokes a specific era — whether that is the steam era of the 1940s, the transition era of the 1950s, or the early diesel years.
Researching Prototype Details
To achieve a convincing vintage scene, research how bridges looked in your chosen era. Older bridges often featured:
- Wooden trestles instead of concrete or steel.
- Hand‑laid track on wooden ties that were more uneven than modern track.
- Riveted steel construction with prominent fastener details.
- Lighter weathering — steam‑era structures accumulated soot and grime, but concrete spalling and advanced corrosion were less common.
Use period photographs or, for earlier eras, adapt old photos and maps to give you authentic trackwork, buildings, and rolling stock.
Painting and Weathering for a Vintage Look
The paint scheme of a bridge and the weathering applied to it are essential to achieving a vintage feel.
- Base colour: For a traditional steel bridge, a dark grey or a rusty brown‑grey works well.
- Rust effects: Apply rust washes sparingly to joints and rivet lines. For a well‑maintained vintage bridge, the weathering should be subtle — more grime than actual rust.
- Concrete or stone: If your bridge has concrete abutments, paint them in off‑whites and pale greys, then add a thin brown wash to suggest age. For stone abutments, dry‑brush multiple shades of grey, brown, and green.
Vintage Scenery Details
To complete a vintage model railroad scene creation, add era‑appropriate details around the bridge:
- Old‑fashioned telegraph poles and lines.
- A hand‑operated crossing gate.
- Maintenance‑of‑way details such as rail piles, track tools, and a section car.
- A small station or freight house in the distance, built from a classic kit or cardstock printed with historic brick or wood patterns.
Section 6: Detailing and Finishing Your Custom Bridge
Fine detailing separates a good model bridge from a great one.
Adding Handrails and Walkways
Most prototype bridges have walkways for maintenance workers. These can be modelled using thin stripwood or plastic grating. Attach them along one or both sides of the track, supported by small brackets glued to the main girders.
Weathering with Paints and Powders
A brand‑new, shiny bridge looks out of place on almost any layout. Weathering is essential.
- Start with a primer: A light grey or brown primer gives the subsequent colours something to adhere to.
- Apply the base colour: Use an airbrush or rattle can to lay down the main colour (e.g., rail brown, dark grey, or a heritage colour).
- Add washes: Thin black or burnt umber paint can be brushed into crevices, around rivets, and along the lower edges of the structure.
- Dry‑brush highlights: Lightly dry‑brush a lighter colour (such as rust or light grey) onto the raised edges to make them pop.
- Powders: Weathering powders can be brushed onto the finished model to add subtle rust streaks, soot, or dust.
Final Assembly and Track Laying
Before permanently fixing the bridge in place, test‑fit it on your layout. Ensure that the track on both approaches is perfectly level with the bridge deck — a dip or hump at the joint is a sure route to derailments.
Once the fit is correct, glue the bridge abutments and the bridge itself into position. Lay the track across the bridge as you would anywhere else on your layout, using rail joiners to connect the bridge track to the approach tracks. If your bridge kit includes a tie strip with spike detail, use that to guide your rail placement.
Section 7: Integrating Your Bridge into a Custom N Scale Model Railroad Layout
On a custom N scale model railroad layout, space is limited and every scene is visible all at once. A single well‑detailed bridge can define an entire section of your layout.
Choosing an N Scale Bridge Design
Because of the small scale, complex lattice trusses can become too delicate and may obscure the view of trains. In N scale, simpler designs often work better: a plate girder bridge, a stone arch bridge, or a steel viaduct with clean lines.
You can also use 3D‑printed bridge designs to achieve fine detail without the risk of components being too fragile. Many free STL files are available for N scale railway bow bridges and truss spans.
Blending Scenery in a Compact N Scale Layout
In a small N scale layout, a bridge can be used to create visual separation between different scenes. For example, a bridge with a tunnel at one end can hide a track as it disappears behind a hill, giving the illusion of a much longer run.
Lighting for Impact
Tiny LED lights can be placed under an N scale bridge to illuminate the water or the underside of the structure. On a custom N scale model railroad layout, even a single point of light can dramatically enhance the realism of a night scene.
Section 8: Custom Model Railway Tunnel Construction
Bridges and tunnels are natural partners. Many a bridge scene looks incomplete without a tunnel portal at one end.
Building Tunnel Portals
For custom model railway tunnel portals, you can buy cast resin or plastic kits, or you can carve your own from foam or cast them in plaster from a rubber mould. Stone portals are particularly effective for vintage scenes.
Integrating Tunnel and Bridge
To make the transition from tunnel to bridge seamless:
- Build the bridge first, ensuring the track alignment is fixed.
- Construct the tunnel portal on the bench, then carve or build up the hillside around it.
- Place the portal at the correct height so that the track enters it without any change in grade.
- Blend the portal with the bridge abutment using plaster, ground foam, and static grass.
For a very realistic effect, the retaining walls at the tunnel mouth should use the same material and colouring as the bridge abutments.
Section 9: Long‑Term Maintenance of Your Model Bridge
A custom bridge is often one of the most fragile parts of a layout. Over time, dust and handling can take their toll.
- Dust regularly with a soft brush or compressed air.
- Inspect glued joints periodically, especially on longer spans.
- Keep track clean – dirt and oil from wheels can stain a bridge deck.
- Store your layout under a dust cover when not in use to protect delicate details.
Conclusion
Custom model railroad bridge building is a skill that combines research, careful material choice, and artistic detailing. Whether you are scratchbuilding a simple trestle or kitbashing a complex steel viaduct, the result is a unique structure that no one else has.
By paying attention to custom model railroad scale selection, you ensure that your bridge fits harmoniously with your trains and scenery. Connecting the bridge with a custom model railway tunnel creates a dramatic transition, while vintage model railroad scene creation techniques give your scene an authentic period feel. On a custom N scale model railroad layout, a well‑detailed bridge can become the signature element of the entire design. And custom model train track scenery — the trees, water, and ground cover around the bridge — ties everything together into a believable miniature world.
Ready to start building your own custom railroad bridge? Choose a prototype, gather your materials, and lay down that first girder.
Happy modelling.


Leave a Reply