



Building your own custom N scale model railroad layout is an exciting and rewarding project.
It allows you to create a miniature world in a small space.
N scale (1:160) is perfect for hobbyists who want detail without needing a huge room.
Let’s walk through the entire process, step by step.
Why Choose a Custom N Scale Model Railroad Layout?
A custom N scale model railroad layout gives you full control over design, scenery, and operation.
You are not limited by ready-made plans.
You can model a real location or invent a fictional town.
Because N scale is small, you can fit long trains and sweeping curves on a single table.
Step 1: Plan Your Space and Track Design
Before you buy anything, measure your available area.
A typical layout fits on a 4×8 foot sheet of plywood, but you can go smaller.
Draw a simple track plan on graph paper.
Use online software like AnyRail or SCARM for precision.
Decide if you want a continuous loop, point-to-point, or switching yard.
Remember, a custom N scale model railroad layout should match your skill level and time budget.
Step 2: Gather the Right Tools and Materials
You will need:
- N scale track (Kato, Atlas, or Peco)
- Foam board or plywood for the base
- Cork roadbed for noise reduction
- Wire, soldering iron, and a power pack
- Scenery materials (trees, grass, rocks, ballast)
Do not forget adhesives, knives, and paintbrushes.
Good planning here makes the build smoother.
Step 3: Build the Benchwork and Base
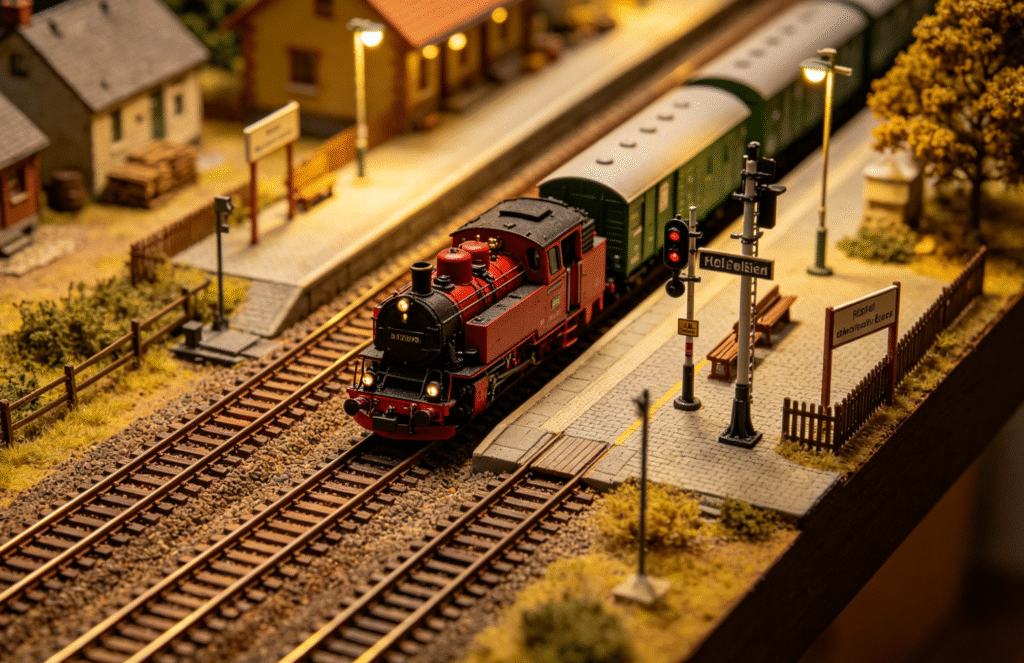
Build a sturdy, level table.
Use 1×4 lumber for the frame and plywood for the top.
You can also use extruded foam insulation board.
Foam is light, easy to carve, and absorbs sound.
Cut the foam to size and glue it to the plywood.
Now you have a solid foundation for your custom N scale model railroad layout.
Step 4: Lay the Track
Start by placing cork roadbed along your drawn track lines.
Glue it down with white glue or latex adhesive.
Then lay the track sections on top.
Do not glue the track until you test everything.
Use rail joiners to connect pieces.
Solder feeder wires to every section of track to ensure reliable power.
Run a train by hand to check for gaps or bumps.
Once satisfied, glue the track down carefully.
Ballast the track with fine gray stones and secure with diluted glue.
This is a key step when you Build Model Railroad for long-term reliability.
Step 5: Wiring and Digital Command Control (DCC)
Keep wiring simple for small layouts.
Use a bus wire (14–18 gauge) under the table.
Connect feeder wires from the track to the bus.
For DCC, you only need two wires to the track.
DCC lets you run multiple trains independently.
That is a huge advantage for any serious custom N scale model railroad layout.
Step 6: Create the Terrain
Now the fun part begins.
Crumple newspaper or use cardboard strips to form hills and valleys.
Cover with plaster cloth or paper towels soaked in hydrocal.
Let it dry, then paint the entire surface earth brown.
You can also carve foam directly for steep cliffs.
This is where you start building your Custom Model Railroad Scenery, layer by layer.
Step 7: Add Realistic Scenery Details
Start with ground cover.
Sift on fine turf or ground foam in different green shades.
Spray with diluted glue to hold it in place.
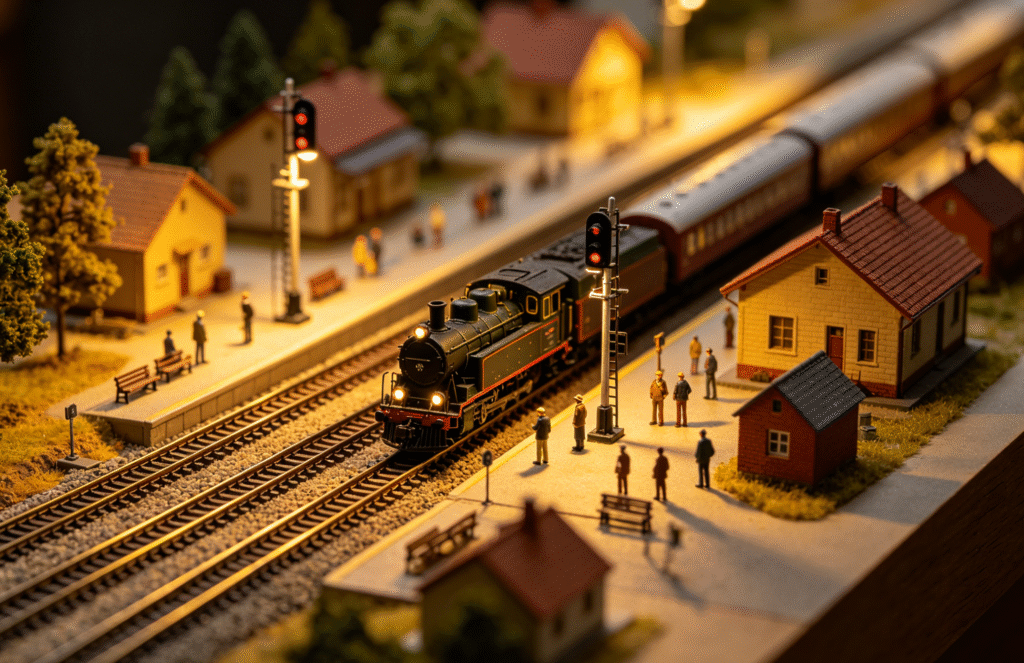
Add trees, bushes, fences, and roads.
Use static grass applicators for realistic meadows.
Place small figures, vehicles, and buildings.
Weather the structures with chalk or acrylic washes.
The details bring your custom N scale model railroad layout to life.
Step 8: Selecting the Right Scale Elements
Everything must match N scale (1:160).
But before you buy kits, think about your custom model railroad scale selection.
Are you modeling modern, transition, or steam era?
Choose locomotives, rolling stock, and structures that fit your chosen period.
Mixing scales (like HO figures on an N layout) will break the illusion.
So always check the label before purchasing.
Step 9: Build a Custom Model Railway Tunnel
A tunnel adds mystery and depth.
To build a custom model railway tunnel, first carve a hole through your foam hill.
Line the inside with black paper or dark paint.
Build a portal using plaster castings, laser-cut wood, or 3D-printed stone arches.
Glue the portal at the tunnel entrance.
Add vines and grass around it to blend with scenery.
Make sure the tunnel is wide and tall enough for your longest cars.
Test with a train before final gluing.
Step 10: Painting and Finishing Touches
Apply a flat black or grimy black to rails and ties.
Dry brush rust color on the rail sides.
Paint the sides of the roadbed dark brown.
Add a backdrop with sky and distant mountains.
Backdrops can be painted or printed.
They dramatically improve the sense of scale.
Step 11: Vintage Model Railroad Scene Creation
For added character, try vintage model railroad scene creation.
Use old-style billboards, classic automobiles, and retro gas pumps.
Include a drive-in theater, a 1950s diner, or steam-era water towers.
Vintage scenes tell a story and make your layout unique.
You can even use older brass locomotives or kitbashed rolling stock.
This style fits perfectly in a custom N scale model railroad layout.
Step 12: Lighting and Electronics
Install streetlights, building interiors, and signal lights.
Use warm white LEDs for a natural glow.
Add a dusk simulator or flickering fire effect.
You can also add sound decoders in locomotives.
Small speakers under the layout produce realistic chuff and horn sounds.
Lighting adds drama and extends your operating sessions into evening hours.
Step 13: Testing and Troubleshooting
Run trains at low speed through every switch and curve.
Check for stalling, derailments, or poor electrical contact.
Clean the track with a bright boy or alcohol wipe.
Fix any dead spots by adding more feeder wires.
Fix derailments by adjusting wheel gauges or track alignment.
Do not rush this step.
A reliable custom N scale model railroad layout is more enjoyable than a fancy but faulty one.
Step 14: Maintenance and Expansion
Vacuum dust regularly with a soft brush attachment.
Clean track and wheels every few months.
You can always expand by adding a new module.
Build a small extension table and connect it with a bridge.
Add industries, a yard, or a second town.
The hobby never really ends — that is the joy of it.
Common Mistakes to Avoid
- Using too much glue, which clouds clear plastic parts.
- Forgetting to leave access holes for cleaning under tunnels.
- Placing turnout motors directly under scenery.
- Overcrowding the layout with too many tracks.
- Ignoring the need for a staging yard or fiddle track.
Avoid these, and your custom N scale model railroad layout will run smoothly for years.
Final Tips for Success
Start small.
Finish one section before moving to the next.
Join a local N scale club or online forum.
Watch YouTube tutorials for specific techniques.
Be patient with yourself — scenery takes practice.
Most importantly, have fun.
Your custom N scale model railroad layout is your personal work of art.
Conclusion
Building a custom N scale layout is not difficult if you follow a logical order.
Plan, build the base, lay track, wire it, then add scenery.
Include a custom model railway tunnel for visual breaks.
Use proper custom model railroad scale selection to keep everything consistent.
Try vintage model railroad scene creation for a nostalgic look.
And always remember why you started — to enjoy the magic of trains in miniature.
Now go ahead and Build Model Railroad that you can be proud of.
Start your custom N scale model railroad layout today.


Leave a Reply