



Making a model railway tunnel is a fun way to add depth to your layout.
It’s a simple project that even beginners can tackle.
You just need basic supplies and a little creativity.
This guide walks you through each step easily.
The star of this project is the custom model railway tunnel.
It’s a key element that makes your train layout feel realistic.
A well-made custom model railway tunnel adds charm and intrigue.
It gives your trains a place to “disappear” and reappear.
Start with planning. Planning saves time and mistakes.
Decide where your custom model railway tunnel will go.
Will it go through a hill or alongside your tracks?
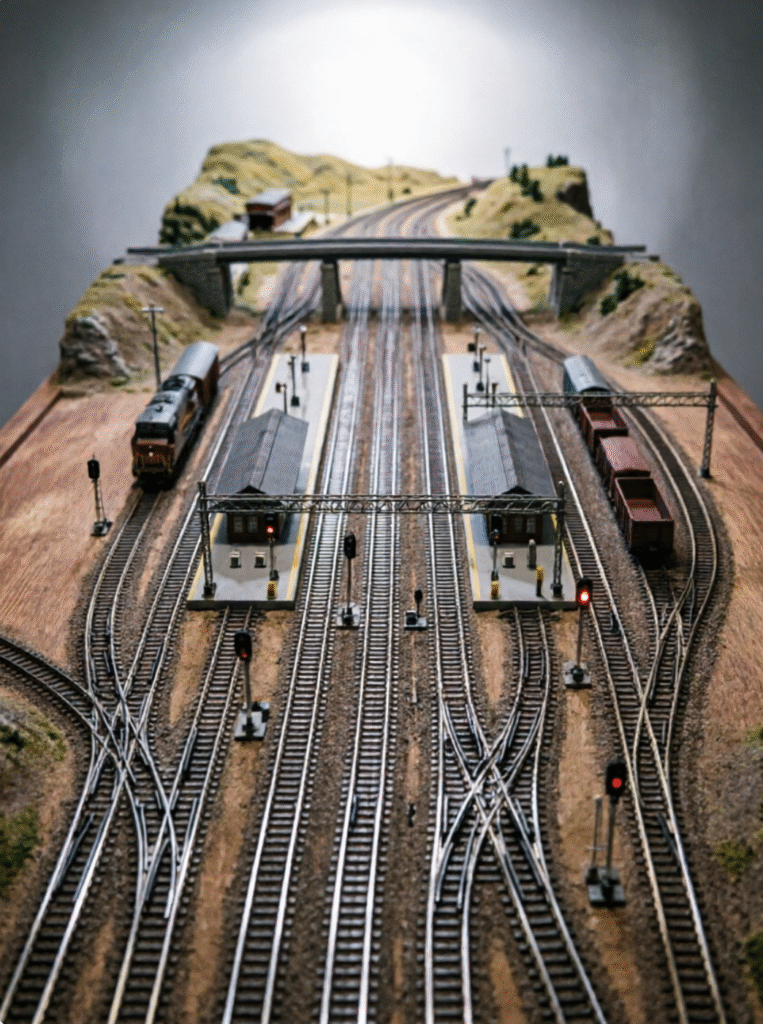
Sketch your ideas on paper. Note the size and shape.
Make sure it fits your Scale Model Railroad layout.
Planning ensures your tunnel works with your setup.
Gather your supplies. You don’t need expensive tools.
Basic materials work perfectly for a custom model railway tunnel.
Grab foam board, cardboard, glue, and acrylic paint.
You’ll also need scissors, a craft knife, and sandpaper.
Add small details like fake rocks or moss.
Choose the right size. Size matters for realism.
Your tunnel must fit your trains and layout scale.
This ties back to your custom model railroad scale selection.
Measure your trains to ensure the tunnel is wide and tall enough.
A poorly sized custom model railway tunnel will ruin the look.
Build the tunnel base. The base is the foundation.
Cut a rectangular piece of foam board for the tunnel floor.
Make sure it’s long enough for your trains to pass through.
Smooth the edges with sandpaper for a clean finish.
This base supports your custom model railway tunnel.
Create the tunnel walls and roof. Cut foam board into curved pieces.
Glue them to the base to form the tunnel shape.
Leave both ends open for trains to enter and exit.
Let the glue dry completely before moving on.
Building the structure is easy when you take it step by step.
Add texture to the tunnel. Texture makes it look real.
Cover the tunnel with plaster cloth or paper towels soaked in glue.
Let it dry. This creates a rough, rock-like surface.
Sand lightly to smooth any uneven spots.
Texture turns a plain structure into a custom model railway tunnel.
Paint the tunnel. Choose earthy colors for a natural look.
Use browns, grays, and tans to mimic rock and dirt.
Add darker shades in crevices for depth.
Use a dry brush to add texture and variation.
Painting brings your custom model railway tunnel to life.
Add details. Small touches make a big difference.
Glue fake rocks or pebbles around the tunnel entrance.
Add fake moss to the top and sides.
Paint small cracks or lines to mimic real rock.
These details blend the tunnel with your Custom Model Railroad Scenery.
Integrate the tunnel into your layout. It’s time to place it.
Position it near hills or scenery for a natural look.
Make sure tracks run smoothly through the tunnel.
Surround it with vegetation to hide edges.
Your custom model railway tunnel should feel part of the landscape.
Add lighting (optional). Lighting adds realism.
Place small LED lights inside the tunnel.
Hide wires under the base to keep the layout clean.
Lighting makes the tunnel look like a real underground passage.
It pairs well with a Custom Model Train Station Miniature nearby.
Test your tunnel. Make sure trains pass through easily.
Check for any loose pieces or uneven surfaces.
Adjust as needed to ensure smooth movement.
Testing ensures your custom model railway tunnel works perfectly.
Enjoy the process. Making a tunnel is rewarding.
It’s a great way to practice skills as you Build Model Railroad elements.
Every step is fun and satisfying.
Your custom model railway tunnel will be a standout feature.
It adds depth and realism to your entire layout.
Remember, there’s no right or wrong way to make it.
Let your creativity guide you. Build something you love.
With these steps, your custom model railway tunnel will be perfect.
It will enhance your layout and bring joy for years to come.


Leave a Reply