



Making a model train station miniature is a rewarding hobby project.
It’s easy to start, even if you’re new to model trains.
You just need simple supplies and a little creativity.
This guide breaks down the process step by step.
Let’s begin with the centerpiece: Custom Model Train Station Miniature.
This tiny structure adds charm and realism to any train setup.
It’s not just a prop—it’s a focal point for your layout.
A well-crafted Custom Model Train Station Miniature makes your hobby feel complete.
Start with planning. Planning saves time and frustration.
Decide on the style of your station.
Do you want a vintage wooden depot, a modern stop, or a rustic country station?
Sketch your ideas on paper. Note the size and key details.
Think about how it will fit into your Scale Model Railroad.
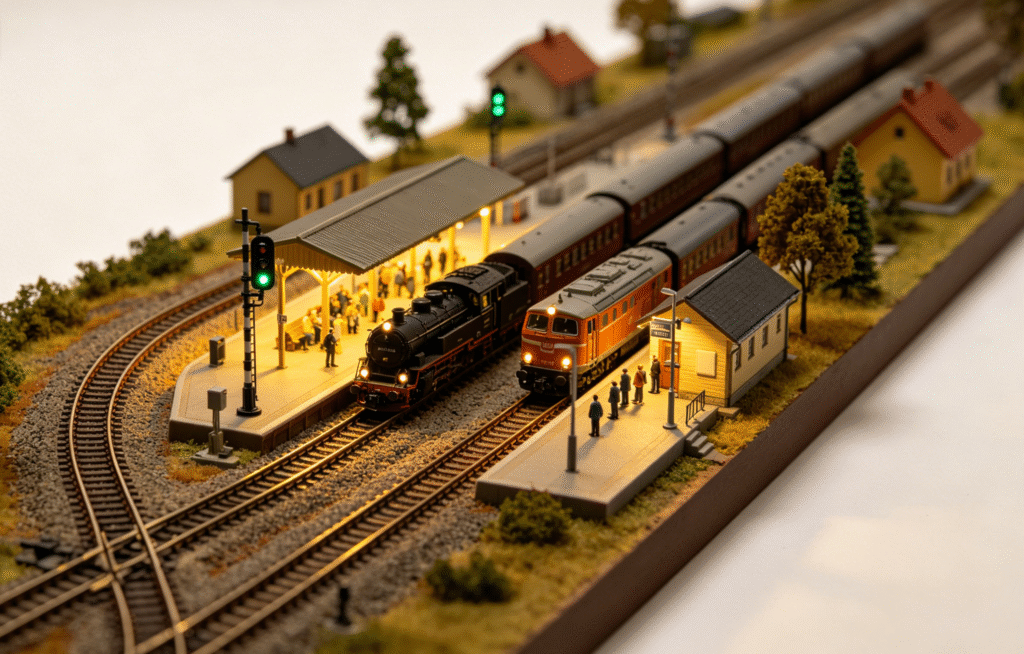
Smaller stations work best for compact layouts.
Gather your supplies. You don’t need expensive tools.
Basic materials work perfectly for a Custom Model Train Station Miniature.
Grab balsa wood, cardboard, or foam board for the structure.
You’ll also need glue, scissors, a craft knife, and acrylic paint.
Add small extras: toothpicks, tiny stickers, or mini figures.
Build the base first. The base is the foundation.
Cut a piece of foam board to your desired size.
This will be the floor of your station.
Smooth the edges with sandpaper for a clean look.
Make sure it’s sturdy enough to hold the walls and roof.
Build the walls. Cut rectangular pieces from balsa wood or cardboard.
Glue them to the base to form the station’s walls.
Leave gaps for doors and windows. Cut these carefully with a craft knife.
Add a small overhang above the door for a classic touch.
Let the glue dry fully before moving to the next step.
Add the roof. The roof gives your Custom Model Train Station Miniature character.
Cut two triangular pieces for the gables (sloped sides).
Glue them to the top of the walls.
Cut a rectangular piece for the roof itself and glue it on top.
Paint shingles or use small paper pieces to add texture.
Add details. Details make your station feel real.
Paint the walls and roof with your chosen colors.
Use a fine-tipped brush for window frames and door trim.
Glue a tiny “Train Station” sign above the door.
Add railings made from toothpicks around the entrance.
If you’re creating a Custom Model Railroad Diorama, this station can be the centerpiece that ties the whole scene together.
Weather your station. Weathering adds authenticity.
Use a dry brush with dark paint to add dirt and wear.
Add a little brown paint to the edges and corners.
This mimics the way real stations age over time.
A weathered Custom Model Train Station Miniature looks more lifelike.
Add finishing touches. Small extras make a big difference.
Glue mini figures near the door—like a traveler or station master.
Add a tiny bench outside for passengers to sit.
Use small LED lights inside the windows for a warm glow.
These details make the station feel lived-in.
Integrate it into your layout. Your station is ready for your Model Train Scenery.
Place it near the tracks, so trains can “stop” there.
Surround it with Custom Model Railway Buildings for a cohesive look.
Make sure it matches the scale and theme of your layout.
Troubleshoot common issues. Mistakes are normal.
If walls are crooked, adjust them while the glue is wet.
If paint drips, let it dry and sand it down lightly.
Touch up the area with a small brush.
Don’t give up—practice makes perfect.
Enjoy your creation. Your Custom Model Train Station Miniature is one of a kind.
It’s a reflection of your creativity and hard work.
Admire the details and how it enhances your train setup.
This project is fun, relaxing, and rewarding.
Remember, there’s no right or wrong way to make a Custom Model Train Station Miniature.
Let your imagination guide you. Build something you love.
With these steps, you’ll have a beautiful, realistic station to enjoy for years.

Leave a Reply