



Painting model railway buildings is a great way to add personality to your setup.
It’s not as hard as it looks. With a few simple tips, you can get professional results.
Whether you’re a beginner or a seasoned hobbyist, these steps will help you paint like a pro.
First, let’s focus on the star of the project: Custom Model Railway Buildings.
These unique structures are the heart of any model train layout.
Painting them well makes your entire setup feel more realistic and personal.
Start with preparation. This step is key to a smooth paint job.
Gather your supplies before you begin. You’ll need paint, brushes, and a few basic tools.
Acrylic paints work best for Custom Model Railway Buildings. They dry fast and are easy to clean up.
Choose small, fine-tipped brushes for details. Larger brushes are good for base coats.
You’ll also need sandpaper, primer, and a small cup of water for cleaning brushes.
Prep your buildings first. Clean them thoroughly to remove dust or debris.
Sand the surface lightly with fine-grit sandpaper. This helps the paint stick better.
Wipe away any sanding dust with a dry cloth. A clean surface ensures a smooth finish.
Apply a coat of primer. Primer creates a base for the paint to adhere to.
Use a light coat of primer. Let it dry completely before moving on.
This step prevents the paint from peeling or chipping later.
Choose your color palette. The right colors bring Custom Model Railway Buildings to life.
Think about the scene you want to create. Is it a cozy small town or a busy industrial area?
For a classic look, use neutral colors like beige, gray, or brown.
Add pops of color for accents, like a red door or blue windows.
If you’re building a Custom Model Railroad Diorama, match the building colors to the overall theme of your diorama for a cohesive look.
Start with the base coat. Apply a thin, even layer of paint.
Use long, smooth strokes. Avoid applying too much paint at once.
Too much paint can cause drips or uneven coverage.
Let the base coat dry completely. This usually takes 1-2 hours.
Don’t rush this step. A dry base coat ensures the next layers go on smoothly.
Add details next. Details make Custom Model Railway Buildings look realistic.
Use a fine-tipped brush for windows, doors, and trim.
Paint window frames a different color than the walls. Add doorknobs or handles with a tiny dot of paint.
For brick buildings, use a small brush to add individual brick lines.
Take your time with details. They make a big difference in the final look.
Weather your buildings. This step adds authenticity.
Use a dry brush technique with dark paint to add dirt or wear.
Add a little brown or gray paint to the edges of the building. This mimics real wear and tear.
You can also use a small amount of black paint to add shadows in corners.
Weathering makes your Custom Model Railway Buildings look like they’ve been there for years.
Seal the paint. This protects your hard work.
Use a clear acrylic sealer. Apply a thin coat over the entire building.
Let it dry completely. The sealer prevents the paint from fading or chipping.
It also gives the building a smooth, finished look.
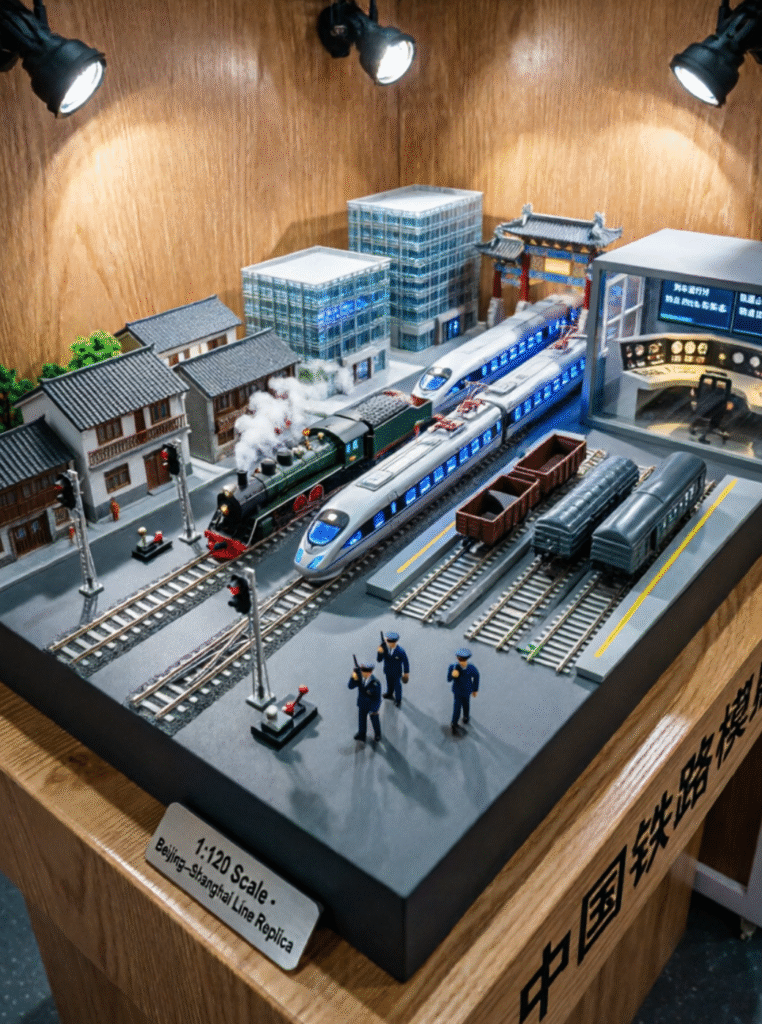
Integrate your buildings into your layout. Once painted, they’re ready to join your Model Train Scenery.
Place them in logical spots. A train station near the tracks, a house near a road.
Add small accessories around them, like tiny plants or figures.
This ties everything together and makes your layout feel complete.
Troubleshoot common issues. Even pros make mistakes.
If you get drips, let the paint dry and sand them down lightly. Then touch up the area.
If the paint peels, check if you skipped the primer step. Reapply primer and repaint.
Don’t get discouraged. Practice makes perfect.
Painting Custom Model Railway Buildings is a fun and creative process.
It lets you put your own stamp on your model train layout.
With these steps, you’ll have beautiful, realistic buildings that you can be proud of.
So grab your brushes, pick your colors, and start painting. Your layout will thank you.

Leave a Reply