I. Disassembly of Core Concepts of Large Model Ship Kits
A large model ship kit refers to a modular assembly set scaled proportionally to real ships (such as aircraft carriers, cruise ships, ancient sailing ships, cargo ships, etc.), including hull, deck, masts, propellers, detailed accessories and basic tools. Usually, the finished product is over 1 meter in length, and some giant kits can reach 3-5 meters, suitable for collection, display, hobby creation and other scenarios.
Its core composition includes three major parts: first, the main structural components, such as one-piece or segmented hull, deck frame, mostly made of ABS plastic, solid wood, metal and other materials to ensure the stability of the model; second, detailed accessories, covering doors, windows, railings, turrets, lifeboats and other simulated parts to restore the original style of the ship; third, auxiliary components, including glue, sandpaper, painting pigments, instructions, etc. Some high-end kits also come with motors, lights, remote control modules to support dynamic demonstrations.
Compared with small model ships or bulk parts, the core advantage of large model ship kits is “modular assembly + high-simulation restoration”, which not only lowers the production threshold of large models, but also ensures the accuracy of finished products through standardized accessories, balancing hands-on fun and display value.
II. Answers to Common Questions About Large Model Ship Kits
Question 1: Can beginners handle large model ship kits? Is it too difficult?
Answer: Beginners can choose entry-level large model ship kits (recommended finished length 1-1.5 meters, high modularity of accessories), which can be completely handled. Such kits have clear instructions, and key components are mostly pre-formed, without complex cutting and sanding. You only need to assemble, paste and paint according to the steps. It is recommended that beginners start with static models, familiarize themselves with the process, and then try dynamic kits with motors and remote control functions, mastering the skills step by step.
Question 2: How to choose the material of large model ship kits? What are the differences between different materials?
Answer: There are three mainstream materials, suitable for different needs: ① ABS plastic: cost-effective, high precision accessories, easy to assemble, drop-resistant and durable, suitable for beginners and display scenarios; ② Solid wood: strong texture, high restoration degree, suitable for making ancient sailing ships and other retro styles, but needs additional sanding and painting, which has certain requirements for hands-on ability; ③ Metal + solid wood mix: commonly used in high-end kits, metal parts enhance stability, solid wood ensures appearance, suitable for senior enthusiasts to collect, but the price is relatively high.
III. Core Benefits of Making Large Model Ship Kits
1. Exercise comprehensive abilities: The production process needs to take into account measurement, assembly, painting, detail adjustment and other links, which can not only improve hands-on ability, but also cultivate patience, concentration and spatial planning ability, especially suitable as an adult decompression hobby or youth manual practice project.
2. Both collection and display value: The finished large model ship has a strong visual impact and detailed restoration, which can be used as home decoration, office decoration or exhibition hall display props. It can not only highlight personal taste, but also some classic ship models have certain collection and appreciation space.
3. Deepen knowledge cognition: In the production process, you need to understand the structure of the ship, navigation principles and other knowledge, especially military ships, ancient sailing ships and other styles, which can imperceptibly learn history, navigation and other common sense, combining fun and knowledge.
4. Realize personalized creation: The kit is a basic framework, which can be transformed by independently painting colors, adding personalized accessories (such as custom nameplates, simulated lights) to create a unique exclusive model to meet personalized needs.
IV. Step-by-Step Guide to Making Large Model Ship Kits (Taking 1.2m Static Ancient Sailing Ship as an Example)
Step 1: Preliminary Preparation (1-2 hours)
First, check the kit accessories to confirm whether the hull, masts, railings, accessory packages, tools, etc. are complete and undamaged; prepare additional auxiliary tools (such as tweezers, scissors, utility knives, cotton swabs, gloves); choose a flat and ventilated workbench, lay a protective pad to avoid dirtying the desktop during painting. At the same time, carefully read the instructions, sort out the assembly sequence, and mark key steps (such as mast installation, rope fixing, etc.).
Step 2: Main Structure Assembly (3-4 hours)
① Hull splicing: If it is a segmented hull, evenly apply glue to the interface with the glue provided in the kit, align and fix it, place it to dry for 2-3 hours to ensure the interface is firm and seamless; ② Deck installation: Align the deck frame with the hull card slot, paste and fix it, gently sand the edge of the deck with sandpaper to make it fit the hull smoothly; ③ Mast fixing: Install the main mast and auxiliary mast according to the position in the instructions, insert them into the corresponding fixing holes, reinforce with glue to ensure the mast is vertical and not skewed, and dry for 1 hour.
Step 3: Detailed Accessory Installation (4-6 hours)
① Small accessory assembly: Take out the railings, doors, windows, lifeboats, turrets and other detailed accessories one by one, paste them on the deck and hull according to the position, use tweezers to assist positioning to avoid accessory displacement; ② Rope arrangement: For ancient sailing ships, thread the ropes according to the instructions, connect the masts and deck, adjust the tightness of the ropes to restore the rope state when the ship is sailing; ③ Detail sanding: Gently sand the edges and interfaces of the accessories with fine sandpaper to remove burrs and make the whole smoother.
Step 4: Painting and Beautification (2-3 hours, including drying time)
① Base coat painting: Dip the corresponding color pigment with a brush, evenly apply it on the hull, deck and masts. It is recommended to apply 2-3 layers, and apply the next layer after each layer is dry to avoid uneven color; ② Detail coloring: Use a fine-tipped brush to color small accessories, ropes, etc., to restore the color matching of real ships (such as the wood color of ancient sailing ships, the metal color of railings); ③ Finishing and beautification: After the paint is completely dry, you can apply a layer of protective paint on the surface to improve gloss and durability. If personalized transformation is needed, you can add custom nameplates, simulated lights, etc.
Step 5: Finished Product Acceptance and Placement (30 minutes)
Check whether all parts are firm, details are complete, and there are no missing accessories; clean the dust and paint residues on the surface of the finished product with cotton swabs; choose a suitable display base, fix the model on the base, and place it in a stable and dry position to avoid direct sunlight and collision.
V. Display of Large Model Ship Kit Practice Results
Result 1: 1.2m Retro Wooden Sailing Ship Model (Beginner Practice)
Completed by a beginner in 3 days, strictly assembled according to the kit instructions without additional transformation. The finished hull is stable, the masts are vertical, the ropes are arranged neatly, and the painting is uniform, restoring the classic style of the ancient sailing ship. Placed in the living room display cabinet, it has become a home highlight. Friends and relatives all recognized its details and texture when visiting. The beginner also mastered the basic production skills of large model ships through this practice and planned to try dynamic models later.
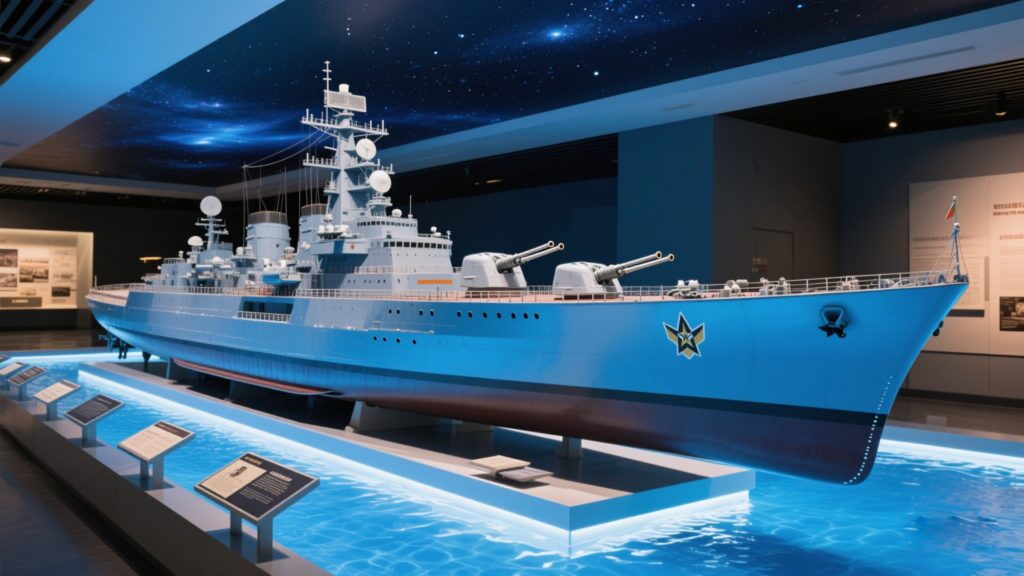
Result 2: 1.5m Military Aircraft Carrier Model (Senior Enthusiast Practice)
Completed by a senior enthusiast in 1 week, with personalized transformation on the basis of the kit: adding simulated lights (deck indicator lights, island lights), painting military camouflage patterns, and additionally installing small aircraft model accessories. The finished product not only restores the structural details of the aircraft carrier, but also the dynamic lights enhance the display effect. It is used for enterprise exhibition hall display, becoming the core prop of industrial display, helping customers quickly understand the production process and display value of ship models.
Result 3: 2m Large Cruise Ship Model (Parent-Child Practice)
Completed by parents and teenagers in 5 days through division of labor and cooperation: parents are responsible for main structure assembly and glue fixing, and teenagers are responsible for detailed accessory installation and painting. The finished product restores the appearance of the cruise ship, and the leisure facilities and windows on the deck are clearly visible. This practice not only exercised the teenagers’ hands-on ability, but also enhanced parent-child interaction. The finished product is placed in the teenager’s study as a memorial of joint parent-child creation, and also let the teenagers deeply understand the structure and navigation knowledge of the cruise ship.
Leave a Reply